
Regularly draining your water heater is a critical maintenance task that safeguards its efficiency, prolongs its lifespan, and ensures a consistent supply of clean hot water. For homeowners with conventional tank water heaters, an annual draining procedure is generally sufficient to remove sediment buildup, which can otherwise diminish performance and lead to costly repairs. This process typically takes between 20 to 60 minutes, depending on the tank size and sediment accumulation. Owners of tankless water heaters, however, will follow a different, more specialized flushing protocol, often requiring a dedicated kit and sometimes professional assistance to circulate a descaling solution. Understanding the distinct steps for gas, electric, and tankless units is essential for a safe and effective outcome, protecting both your appliance and your home’s water quality. Prioritizing this maintenance prevents common issues like reduced hot water, strange noises, and premature system failure, ultimately saving you money on energy bills and future replacements.
The Crucial Importance of Draining Your Water Heater Annually
Draining your water heater annually is not merely a suggestion; it is a fundamental aspect of preventive maintenance that significantly impacts your unit’s performance and longevity. Over time, naturally occurring minerals like calcium and magnesium, along with other particulates present in your water supply, settle at the bottom of the water heater tank. This accumulation, known as sediment, creates an insulating layer between the heating element or burner and the water itself.
According to the U.S. Department of Energy, sediment buildup can reduce a water heater’s efficiency by as much as 12-15%, forcing the unit to work harder and consume more energy to heat water. This translates directly to higher utility bills. Beyond efficiency, sediment can cause various mechanical problems. It can lead to corrosive pitting inside the tank, shorten the life of heating elements, and even clog the drain valve, making future maintenance more difficult. Furthermore, sediment often causes peculiar noises, such as popping or rumbling sounds, as water trapped beneath the sediment layer boils and bursts through. As experienced practitioners, we often see that neglecting this simple annual task leads to premature system failure and necessitates an early water heater replacement, a significantly more expensive undertaking than routine maintenance.
By flushing out these deposits, you ensure that your water heater operates at peak efficiency, maintains its intended lifespan, and provides a consistent supply of hot water without the metallic taste or cloudy appearance that sediment can impart. This proactive approach saves homeowners hundreds, if not thousands, of dollars over the lifetime of their appliance.
Understanding When and How Often to Flush Your Hot Water Tank
Determining the ideal frequency for flushing your hot water tank primarily depends on your local water quality, specifically the hardness of your water, and the age of your unit. For most households, an annual drain and flush is sufficient to manage sediment accumulation effectively. However, if you reside in an area with hard water, identified by high mineral content, you may need to increase this frequency to every six months.
Hard water affects over 85% of homes across the United States, according to data from the U.S. Geological Survey and the Water Quality Association, making frequent draining a necessity for many. Signs that indicate an urgent need to drain your water heater include unusual noises coming from the tank, such as popping, rumbling, or hissing sounds, which signify boiling sediment. A noticeable reduction in hot water availability, fluctuating water temperatures, or cloudy hot water are also strong indicators that sediment has built up and is impeding performance. When you notice these symptoms, it’s time to perform a drain and flush, even if it hasn’t been a full year since the last service. Incorporating this into a comprehensive water heater maintenance routine ensures optimal operation and prevents sediment from hardening into a difficult-to-remove layer.
Essential Tools and Materials for a Successful Water Heater Drain
Performing a successful water heater drain requires a few basic tools and materials to ensure both effectiveness and safety. Gathering these items before you begin will streamline the process and prevent interruptions.
- Garden Hose: A standard garden hose is crucial for safely directing the drained water away from your home to a suitable outdoor drain or yard area. Ensure it’s long enough to reach your drainage point.
- Bucket: A 5-gallon bucket is useful for catching residual water or if you need to drain a small amount indoors.
- Adjustable Wrench or Screwdriver: Depending on your drain valve type, you may need one of these to open and close it. Some valves are plastic and designed to be hand-turned.
- Gloves: Heavy-duty work gloves protect your hands from potentially hot water or sharp edges.
- Teflon Tape (Plumber’s Tape): Useful if you need to remove or re-seal any threaded connections, ensuring a watertight fit.
- Wet/Dry Vacuum (Optional but Recommended): This can be helpful for quickly clearing any spills or residual water around the heater.
- Tankless Water Heater Flushing Kit (for Tankless Units): These specialized kits typically include two hoses, a small submersible pump, and a bucket. The pump circulates a descaling solution through the unit. Such kits typically range from $100 to $300, depending on features and brand.
For conventional tank heaters, most of these tools are readily available and inexpensive. A basic set of household tools for this task would cost approximately $20 to $80, primarily for the hose and any necessary wrenches.
Step-by-Step Guide to Draining a Conventional Tank Water Heater (Gas & Electric)
Draining a conventional tank water heater, whether gas or electric, follows a similar sequence of steps designed to safely remove sediment. Adhering to these instructions precisely is key to avoiding damage and ensuring safety.
1. Turn Off Power or Gas Supply
This is the most critical first step to prevent damage to the heating elements (electric) or burner (gas) once the tank is empty.
- For Electric Water Heaters: Go to your home’s electrical panel and locate the circuit breaker specifically labeled for your water heater. Flip it to the “OFF” position. This immediately cuts power to the unit.
- For Gas Water Heaters: Locate the gas shut-off valve on the gas line leading to the water heater. Turn the valve to the “OFF” position. Additionally, set the water heater’s thermostat to the “PILOT” or “VACATION” setting if available, which will prevent the burner from igniting.
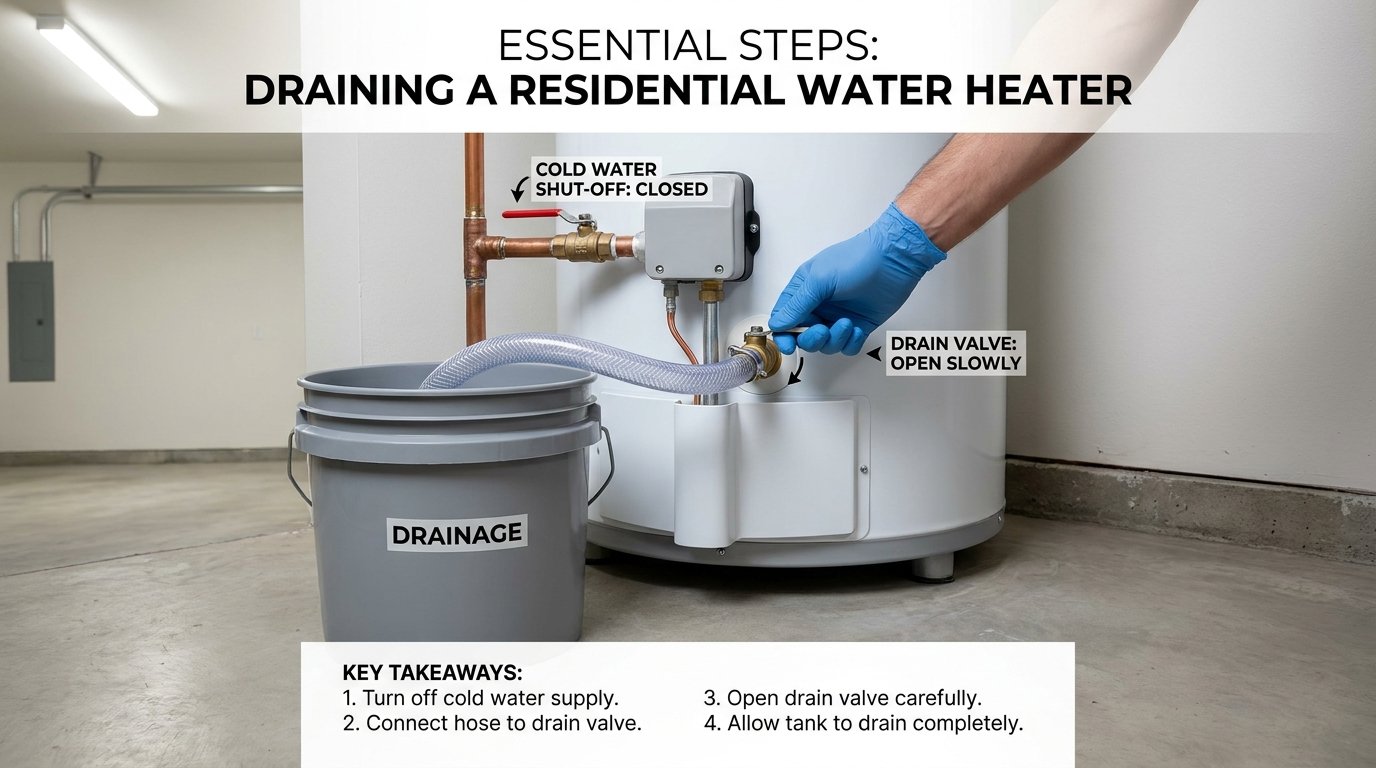
2. Shut Off the Cold Water Supply
Locate the cold water inlet valve at the top of your water heater. This valve typically has a blue handle or is labeled “cold.” Turn it clockwise until it is completely closed. This prevents new cold water from entering the tank while it drains.
3. Open a Hot Water Faucet
Open the nearest hot water faucet in your home, preferably one on an upper floor if applicable. This step allows air into the system, breaking the vacuum inside the tank and enabling the water to drain efficiently. Leave it open throughout the draining process.
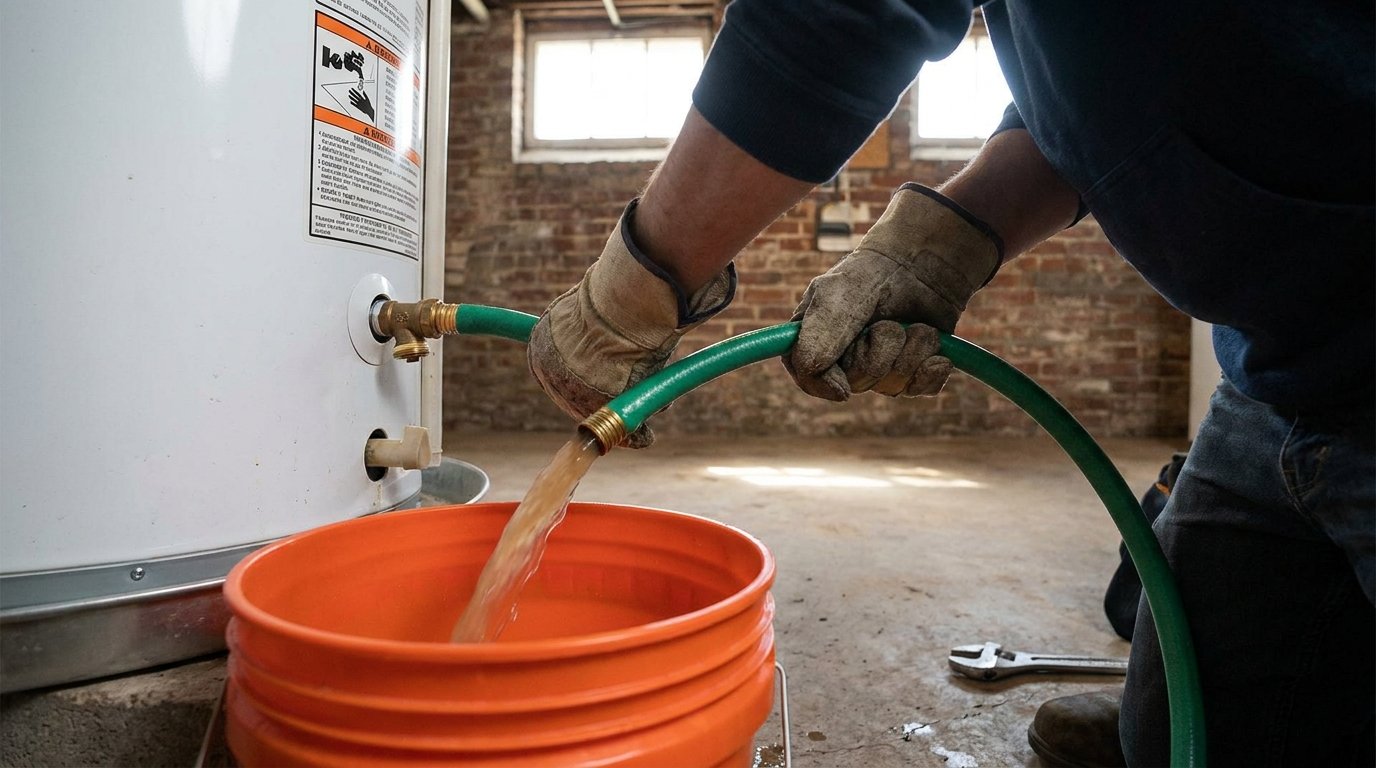
4. Connect a Garden Hose to the Drain Valve
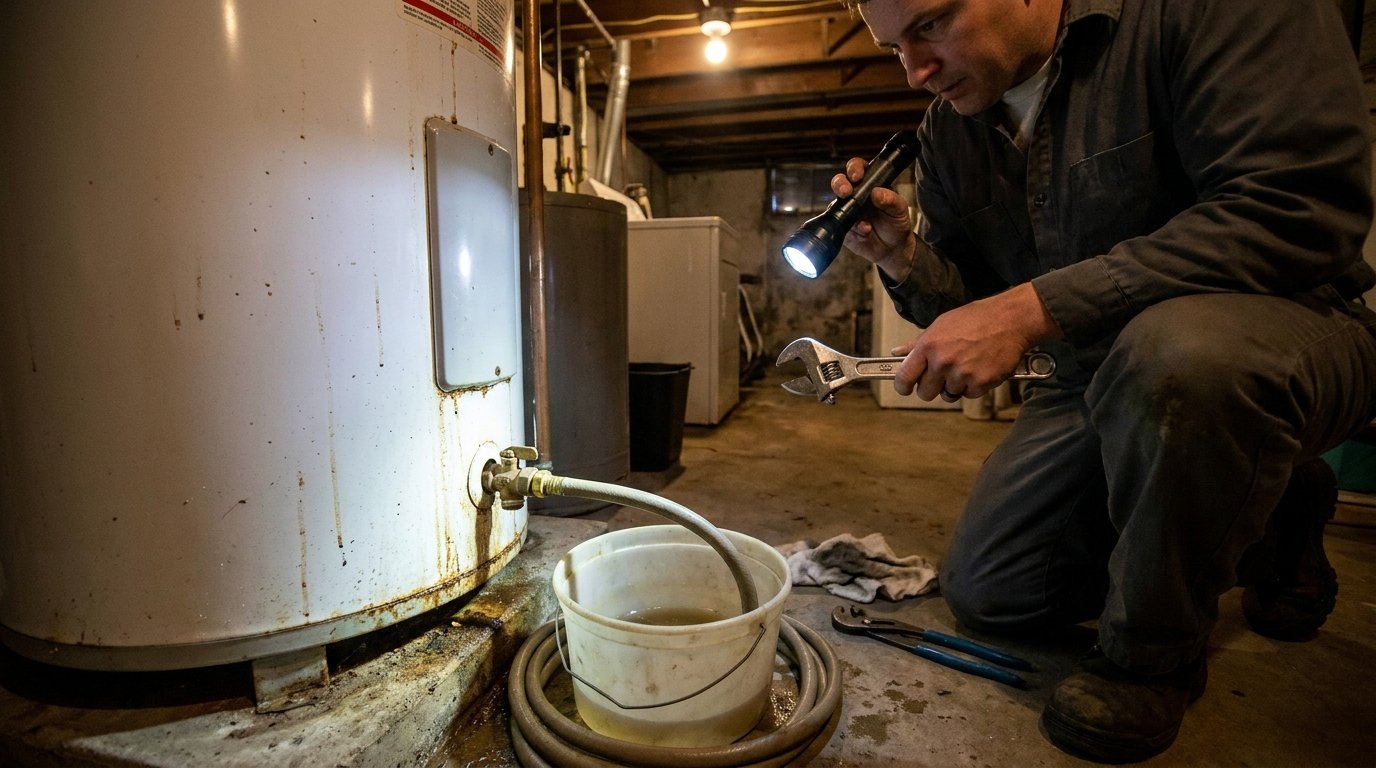
Locate the drain valve at the bottom of your water heater, typically a spigot-like fixture. Attach one end of your garden hose to this valve. Ensure the connection is tight to prevent leaks. Route the other end of the hose to a safe drainage point, such as a floor drain, utility sink, or outside away from your foundation and landscaping. Remember, the water will be hot, especially at the start.
5. Open the Drain Valve
Using an adjustable wrench or by hand (depending on the valve type), slowly open the drain valve. Water will begin to flow through the hose. Monitor the temperature and flow. Initially, the water may be very hot and contain visible sediment. An expert recommendation is to open the valve slowly to avoid dislodging a large slug of sediment that could clog the hose or valve. Let the tank drain completely, which can take 20 to 60 minutes depending on tank size and sediment levels.
6. Flush the Tank (Optional but Recommended)
Once the tank is mostly empty and the water flow from the hose has slowed significantly or stopped, you can perform a quick flush to dislodge any remaining sediment. Close the drain valve and partially open the cold water supply valve for about 30-60 seconds, then close it again. Repeat this a few times until the water coming out of the hose runs clear. This surge of fresh water helps to agitate and flush out stubborn deposits.
7. Close the Drain Valve and Disconnect the Hose
Once you are satisfied that the tank is clear, close the drain valve completely. Remove the garden hose and prepare for refilling.
8. Refill the Water Heater Tank
- Ensure the drain valve is securely closed.
- Close all open hot water faucets in your home.
- Slowly open the cold water supply valve at the top of the water heater. You will hear the tank begin to fill.
- Open a nearby hot water faucet again. Let it run until all air has been purged from the tank and pipes, and a steady stream of cold water flows out. This indicates the tank is full. Close the faucet.
9. Restore Power or Gas Supply
Once the tank is completely full of water, and not before, restore power or gas to the unit.
- For Electric Water Heaters: Return to your electrical panel and flip the water heater’s circuit breaker back to the “ON” position.
- For Gas Water Heaters: Turn the gas supply valve back to the “ON” position. If your unit has a pilot light, you may need to relight it according to the manufacturer’s instructions. Then, set the thermostat back to your desired temperature.
Allow time for the water to heat up before use. This typically takes several hours.
Draining a Tankless Water Heater: A Specialized Approach
Draining a tankless water heater, often referred to as flushing or descaling, is a more involved process than with a conventional tank, primarily because sediment does not accumulate in a large reservoir but rather in the heat exchanger coils. This procedure requires a specialized flushing kit and a descaling solution, typically white vinegar, to dissolve mineral buildup.
The process prevents efficiency loss and damage to the intricate components of the tankless unit. Tankless units with hard water are particularly susceptible to scaling, which reduces flow and heating capacity. The general steps involve isolating the unit, connecting a pump and hoses to dedicated service valves, and circulating a descaling agent. One common professional mistake to avoid is attempting to drain or descale a tankless unit without isolating the system properly, which can introduce descaling solution into your home’s potable water supply or damage the unit’s internal components. Always follow the manufacturer’s specific instructions for your model, as procedures can vary.
Here’s a simplified overview:
- Turn Off Power/Gas: Just like conventional units, shut off the gas supply or electrical breaker to the tankless water heater.
- Close Inlet/Outlet Valves: Locate the service valves (usually three: cold inlet, hot outlet, and a gas/power connection) and close both the cold and hot water isolation valves. There are often purge valves attached to these.
- Connect Flushing Kit: Attach the hoses from your tankless flushing kit to the designated service ports (often labeled “purge” or “flush”). Connect one hose from the cold inlet service port to the bottom of a 5-gallon bucket, and the other hose from the hot outlet service port to the submersible pump inside the bucket.
- Add Descaling Solution: Fill the bucket with 2-3 gallons of undiluted white vinegar (or a manufacturer-approved descaling solution).
- Circulate Solution: Open the purge valves on the service ports. Turn on the submersible pump. This will circulate the descaling solution through the tankless unit’s heat exchanger. Allow the pump to run for 45-90 minutes, depending on the severity of the scale buildup and manufacturer recommendations.
- Flush with Fresh Water: After descaling, turn off the pump and close the purge valves. Disconnect the hose from the hot outlet service port, and direct it to a drain. Slowly open the cold water isolation valve to flush fresh water through the unit for several minutes to rinse out any remaining descaling solution.
- Restore Operation: Close all service valves and purge valves, disconnect the hoses, replace any caps, and then slowly open the main cold and hot water supply valves. Finally, restore power or gas to the unit.
Tankless vs. Tank Water Heater Draining Comparison
| Feature | Conventional Tank Water Heater | Tankless Water Heater |
|---|---|---|
| Primary Purpose | Remove sediment from tank bottom | Descale mineral buildup from heat exchanger |
| Frequency | Annually (more for hard water) | Annually (more for hard water) |
| Required Tools | Garden hose, wrench, bucket | Specialized flushing kit (pump, hoses), bucket, descaling solution (e.g., vinegar) |
| Complexity | Relatively straightforward DIY | More complex, often requires specific kit/skills |
| Time Required | 20-60 minutes | 60-120 minutes (including circulation time) |
Troubleshooting Common Issues During the Draining Process
While draining a water heater is a relatively simple task, homeowners may encounter a few common challenges.
Clogged Drain Valve
The most frequent issue is a clogged drain valve, typically caused by a buildup of sediment. If you open the drain valve and only a trickle of water comes out, or nothing at all, it’s likely obstructed. You can attempt to clear a minor clog by:
- Closing the drain valve and disconnecting the hose.
- Using a stiff piece of wire (like a straightened coat hanger) to carefully probe into the drain valve opening to dislodge the sediment. Be cautious not to push the wire too far or too forcefully.
- Reconnect the hose and try draining again.
- Another method involves briefly turning the cold water supply back on with the drain valve open. The sudden rush of water pressure can sometimes push the clog out. If this doesn’t work, you might need to connect a garden hose from a utility sink faucet (or another cold water source) to the water heater’s drain valve, creating a reverse flush to dislodge the clog. According to field observations, approximately 15-20% of DIY draining attempts encounter a partially or fully clogged drain valve, underscoring the importance of regular maintenance.
Stuck Pressure Relief Valve (TPR Valve)
The Temperature and Pressure Relief (TPR) valve is a crucial safety device. If you operate the relief valve lever and it doesn’t open or close smoothly, it might be stuck due to mineral deposits. Do not force a stuck TPR valve. If it’s malfunctioning, attempting to drain it could cause it to leak or fail when you refill the tank. A stuck TPR valve requires replacement by a qualified professional to ensure the unit’s safe operation.
Noisy Draining
If the draining process is unusually noisy (loud rumbling or banging), it’s generally due to significant sediment buildup. The turbulent water movement dislodges large chunks of mineral deposits. This indicates that draining was overdue and reinforces the need for more frequent flushing in the future. Continue draining until the water runs clear.
If these troubleshooting steps do not resolve the issue, or if you feel uncomfortable at any point, it is always best to contact a qualified plumbing professional to avoid potential damage or injury.
How Long Does It Take to Drain a Water Heater & Speeding Up the Process
The time it takes to drain a water heater can vary significantly, typically ranging from 20 to 60 minutes for a conventional tank. Several factors influence this duration:
- Tank Size: Larger tanks (e.g., 80-gallon) naturally take longer to drain than smaller ones (e.g., 40-gallon).
- Sediment Buildup: A tank with heavy sediment at the bottom can slow drainage considerably as sediment partially obstructs the drain valve or creates resistance to flow.
- Water Pressure: Higher incoming water pressure can help push water out faster initially, but the primary factor is the air vacuum created.
- Drain Hose Length and Diameter: A longer or narrower hose can restrict flow and increase draining time.
- Open Faucet Location: The effectiveness of breaking the vacuum depends on an open hot water faucet, preferably located above or near the water heater.
To drain a hot water heater quickly, implement these strategies:
- Open Multiple Hot Water Faucets: While one open hot water faucet is sufficient, opening several hot water faucets (especially those on upper floors) can introduce more air into the system, further breaking the vacuum and accelerating drainage.
- Use a Shorter, Wider Drain Hose: Minimize resistance by using the shortest practical garden hose with a standard 5/8-inch or larger diameter. Avoid kinked hoses.
- Ensure Adequate Venting: Confirm that the hot water faucet opened earlier is flowing freely and not obstructed. This ensures air can enter the tank, allowing water to exit more easily.
- Check for Drain Valve Obstructions: If the flow is slow, a partial clog in the drain valve is likely. Address this as described in the troubleshooting section.
By implementing these tips, you can often reduce the draining time, making the maintenance process more efficient.
Maximizing Your Water Heater’s Lifespan Through Regular Maintenance
Regularly draining your water heater is an essential pillar of a comprehensive maintenance strategy, directly contributing to extending its operational life and ensuring optimal performance. Beyond just removing sediment, consistent attention to your water heater can prevent a host of problems that lead to premature failure and costly emergencies.
Water heaters are significant investments, often representing one of the largest energy consumers in a home. Proper care, including annual draining, pressure relief valve testing, anode rod inspection (and replacement when necessary), and insulation checks, ensures that your unit operates as efficiently as possible throughout its lifespan. Without regular draining, sediment accumulation can lead to overheating, tank corrosion, and reduced capacity, often cutting a heater’s life short by several years. A well-maintained water heater typically lasts 10-15 years, while a neglected one might only last 6-8 years. By integrating draining into a broader maintenance schedule, you not only improve efficiency and reliability but also mitigate the risk of sudden breakdowns, ensuring a continuous and dependable supply of hot water for your household.
Key Takeaways
- Drain conventional tank water heaters annually to remove sediment and maintain efficiency.
- Tankless water heaters require a specialized flushing kit and descaling solution, typically involving a vinegar-based cycle.
- Always shut off the power or gas supply and the cold water inlet before beginning any draining procedure.
- A garden hose and a safe drainage point are essential for directing hot, sediment-laden water away from your home.
- Consider professional assistance by water heater plumber if your drain valve is significantly clogged, or if you are uncomfortable with the process for tankless units.
